


🚀 Elevate Your Network Game with Silent, Speedy, and Smart Switching!
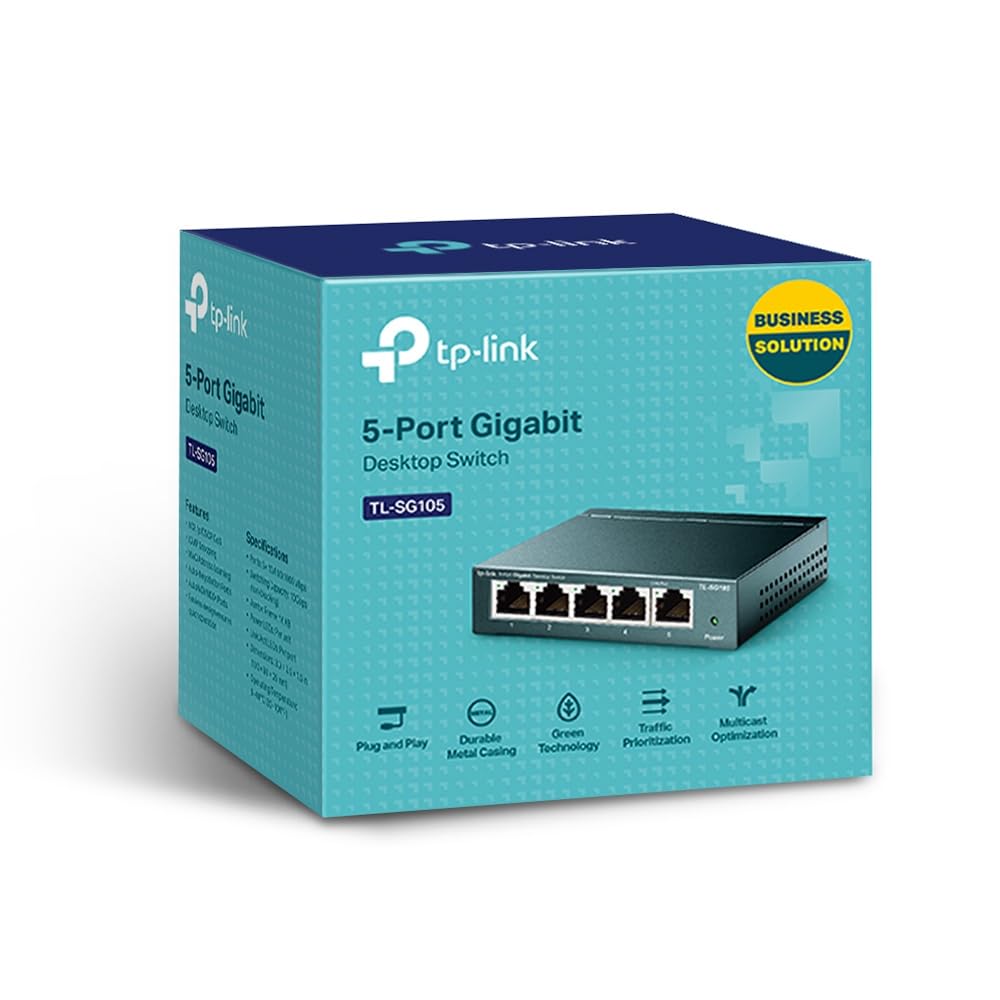
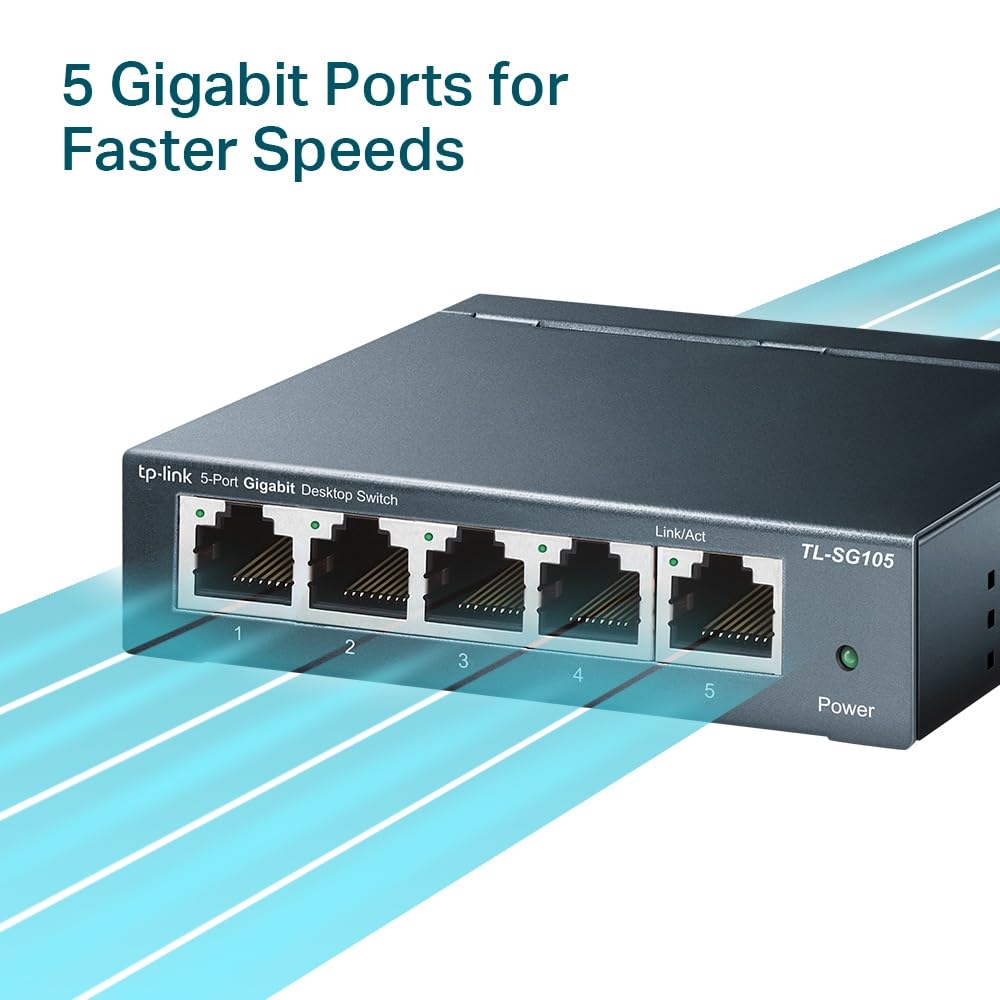
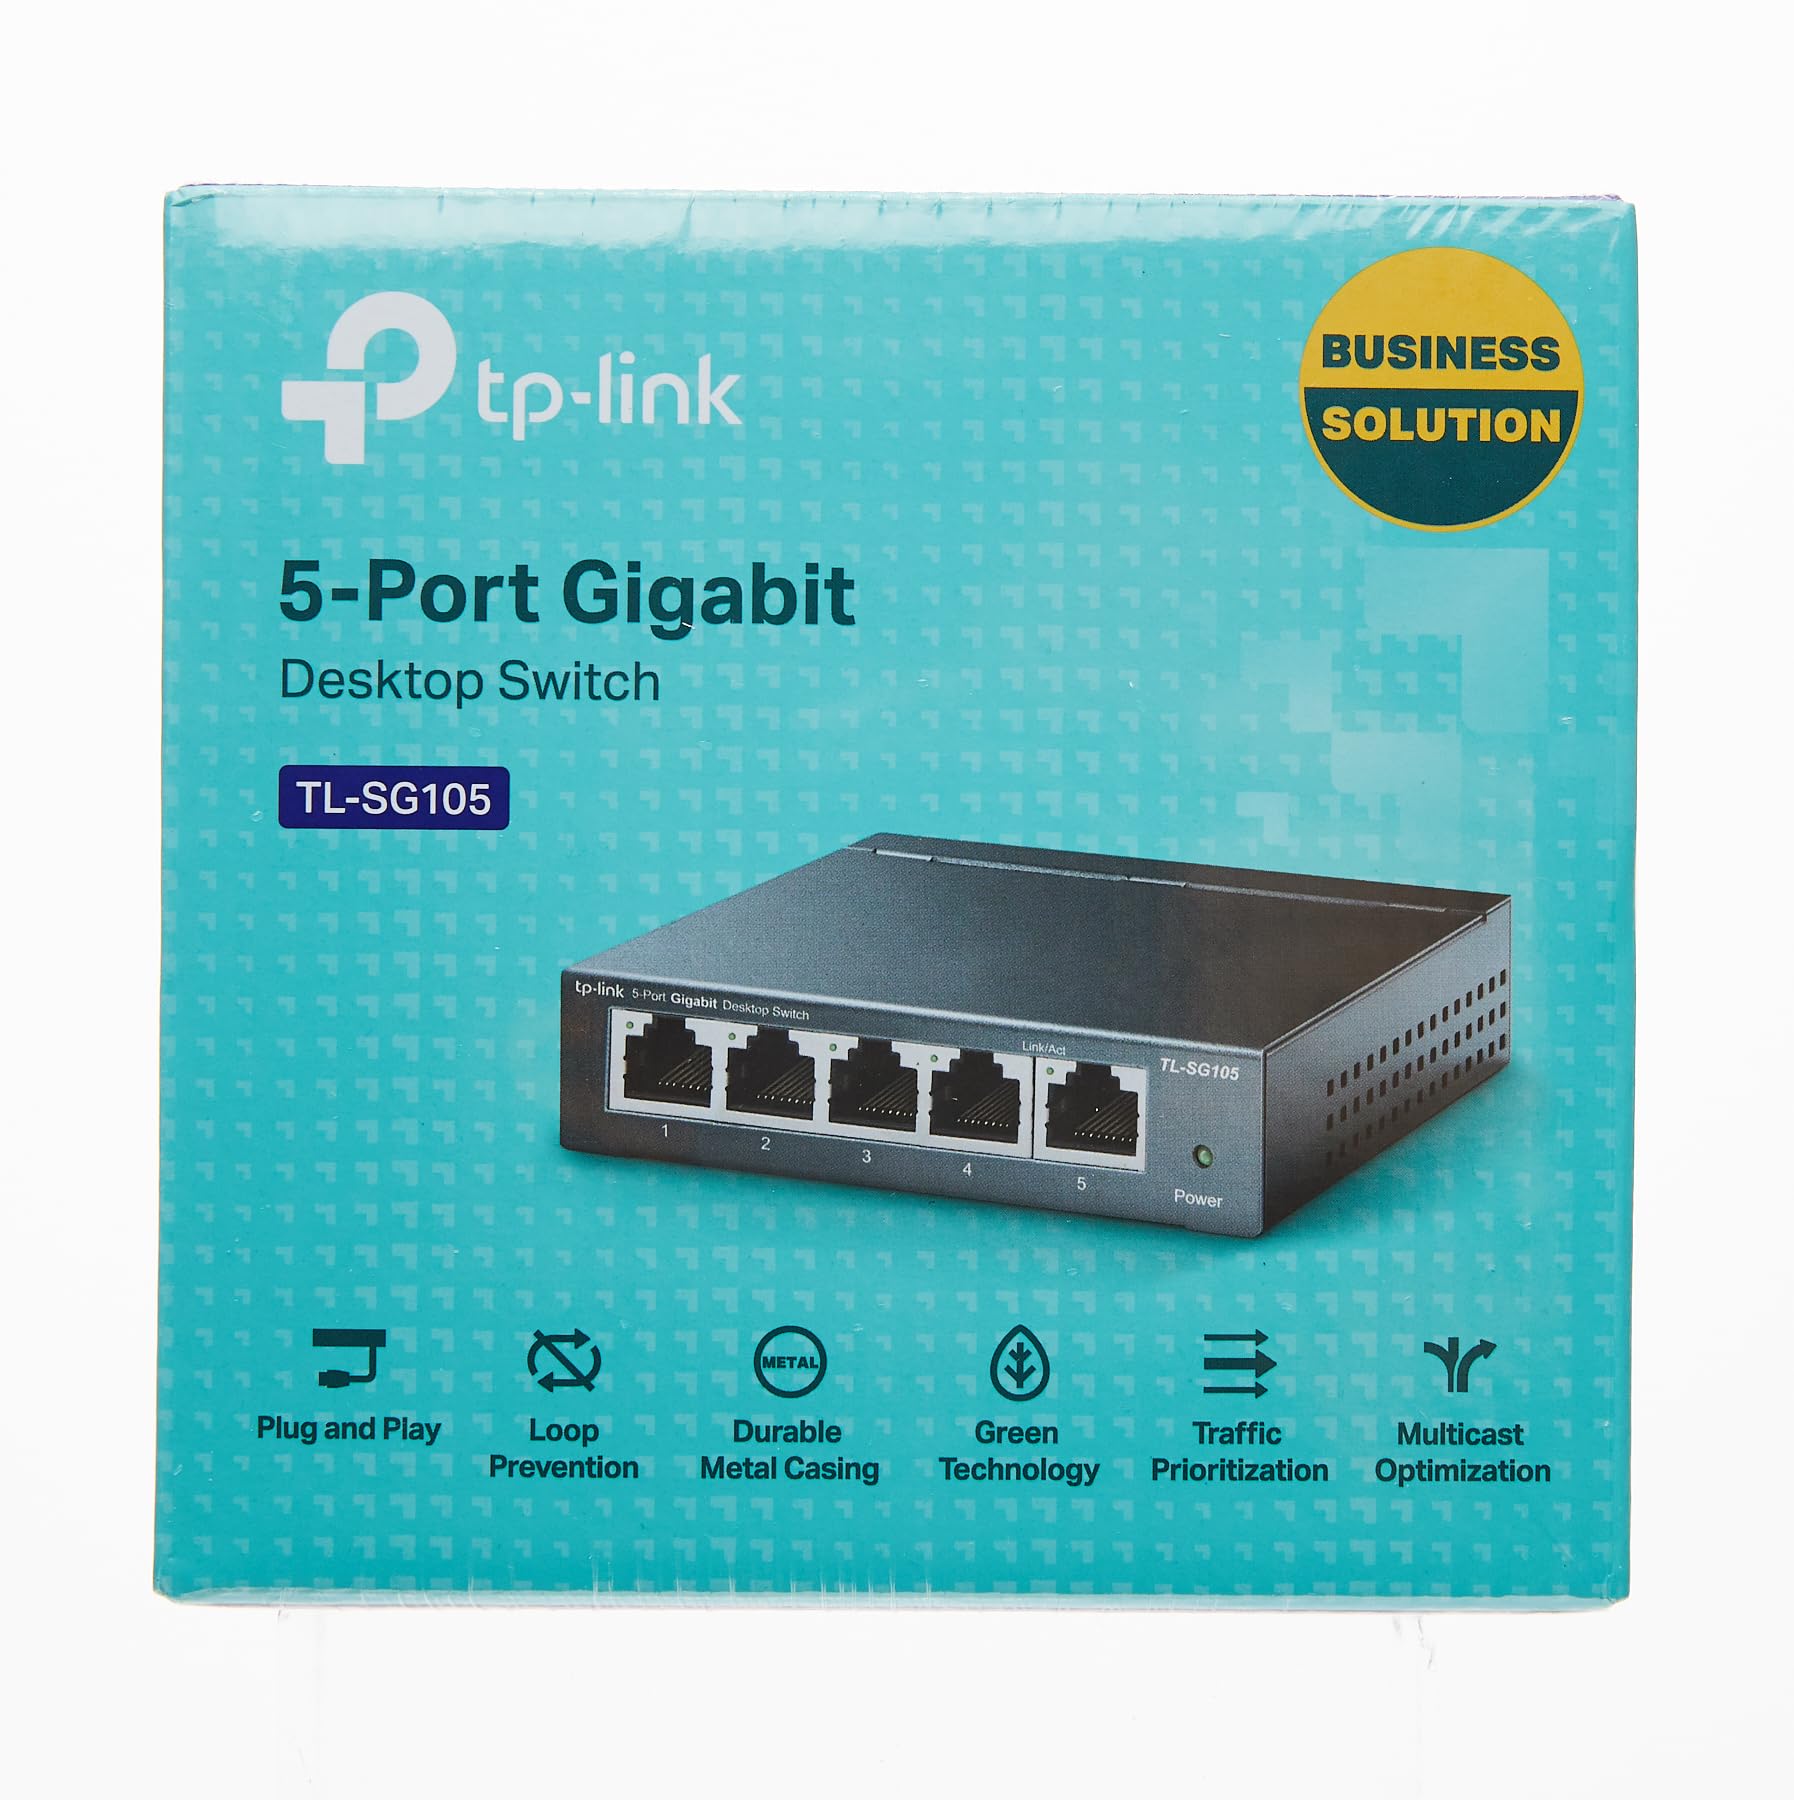
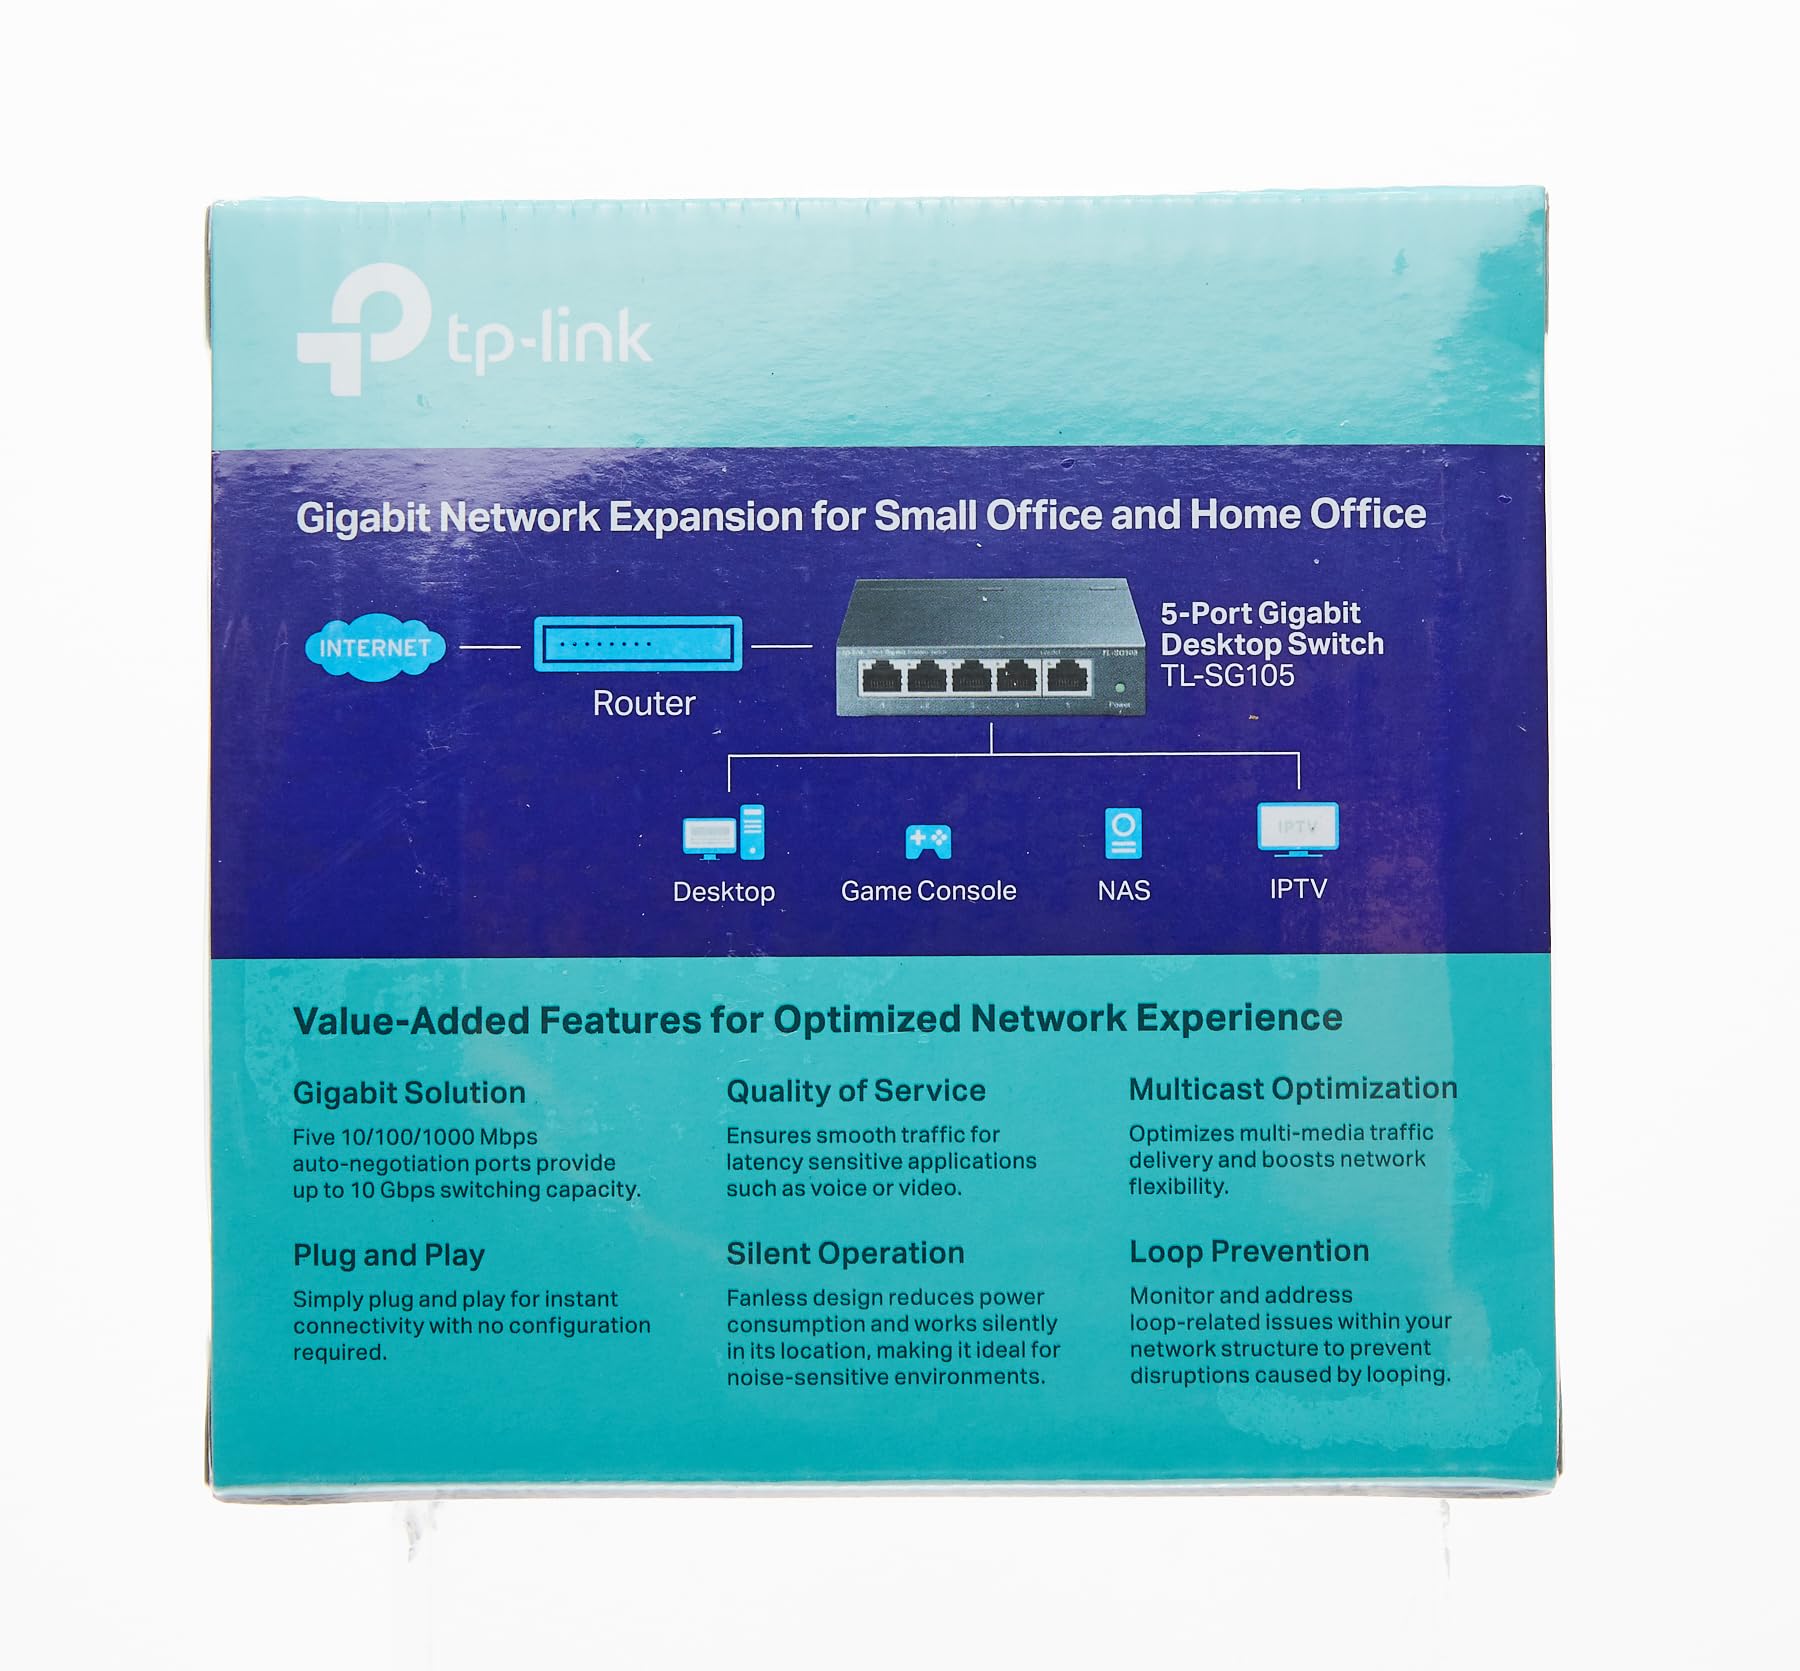
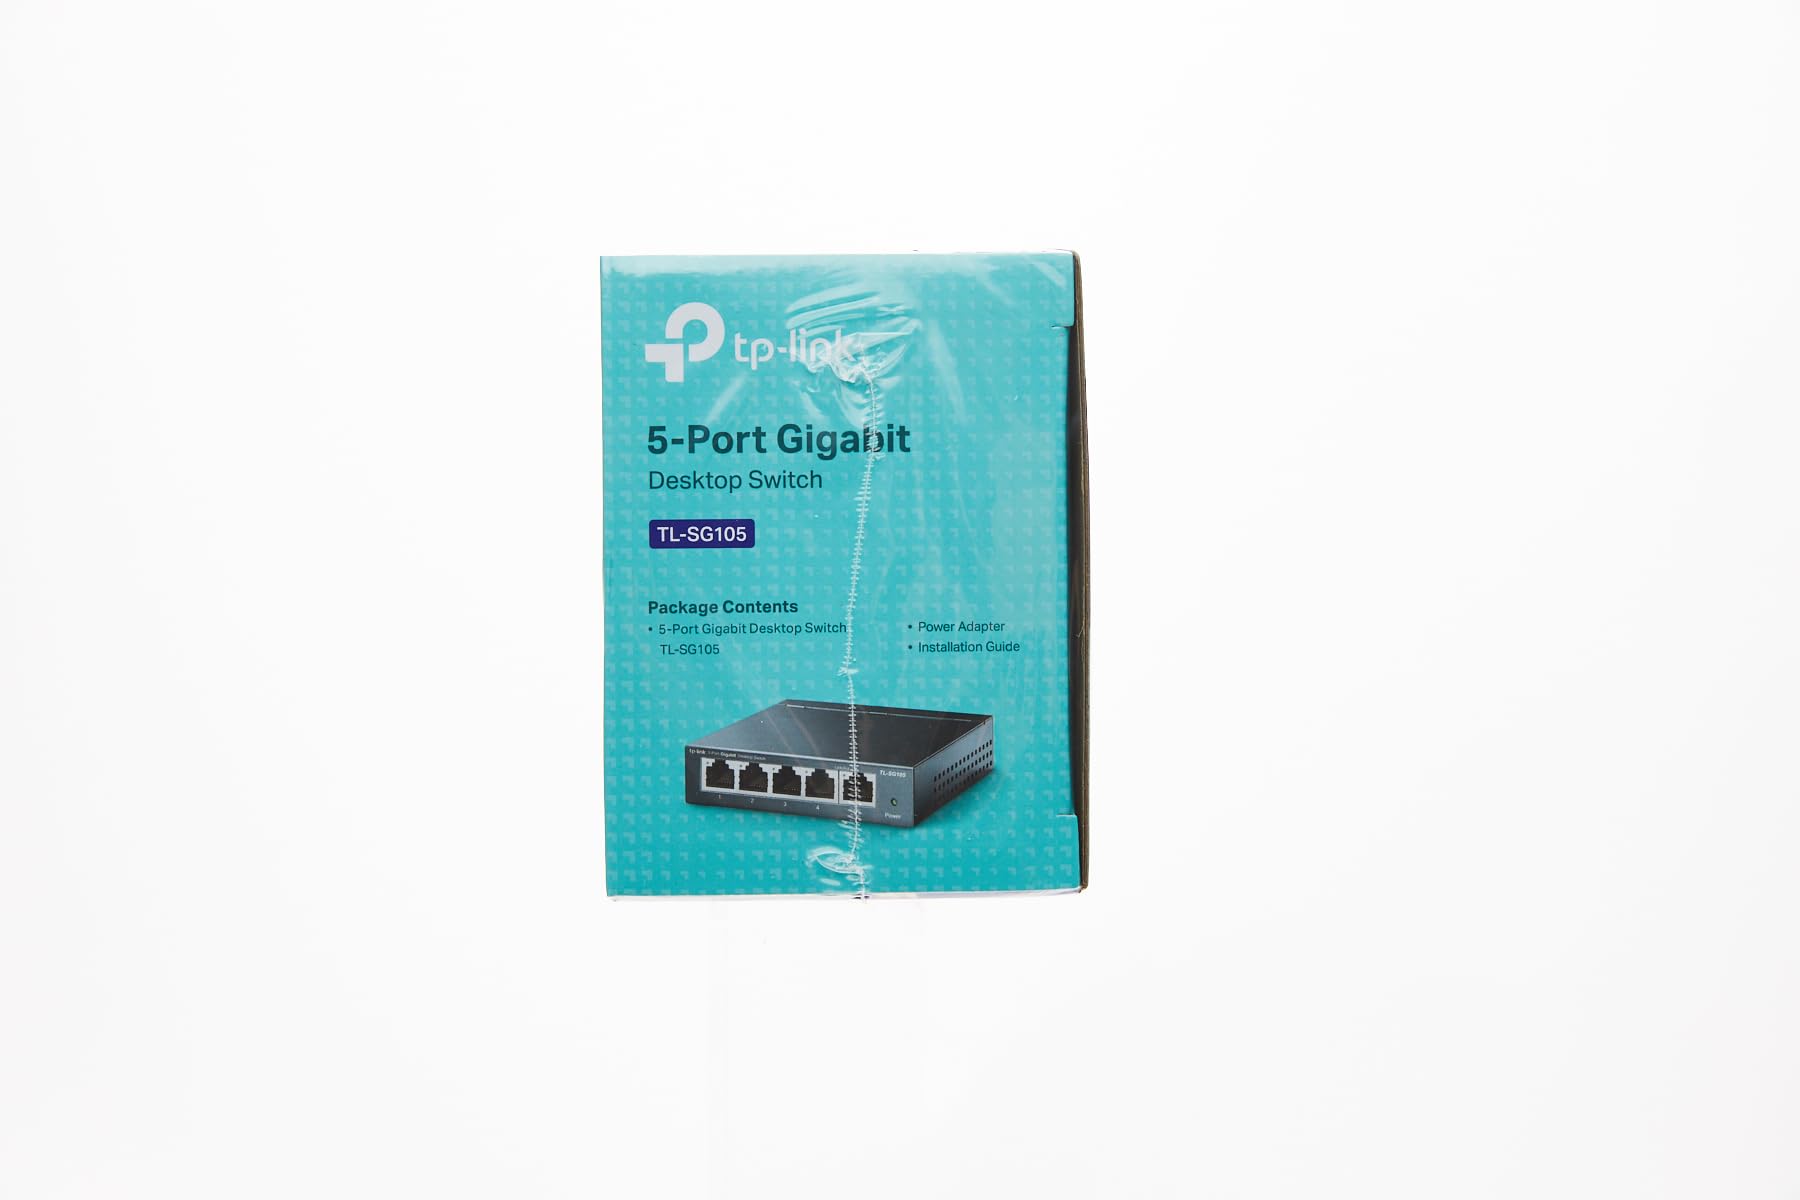
The TP-Link TL-SG105 is a compact, fanless 5-port Gigabit Ethernet switch featuring energy-efficient technology, shielded metal casing, and advanced traffic optimization. Designed for plug-and-play ease, it delivers reliable, high-speed connectivity with silent operation and a robust 3-year warranty, ideal for professional and home office networks.


| Color | Navy Blue |
| Case Material Type | Metal |
| Data Transfer Rate | 1000 Megabits Per Second |
| Current Rating | 0.6 Amps |
| Platform | No Operating System |
| Switch Type | Metal |
| Voltage | 230 Volts |
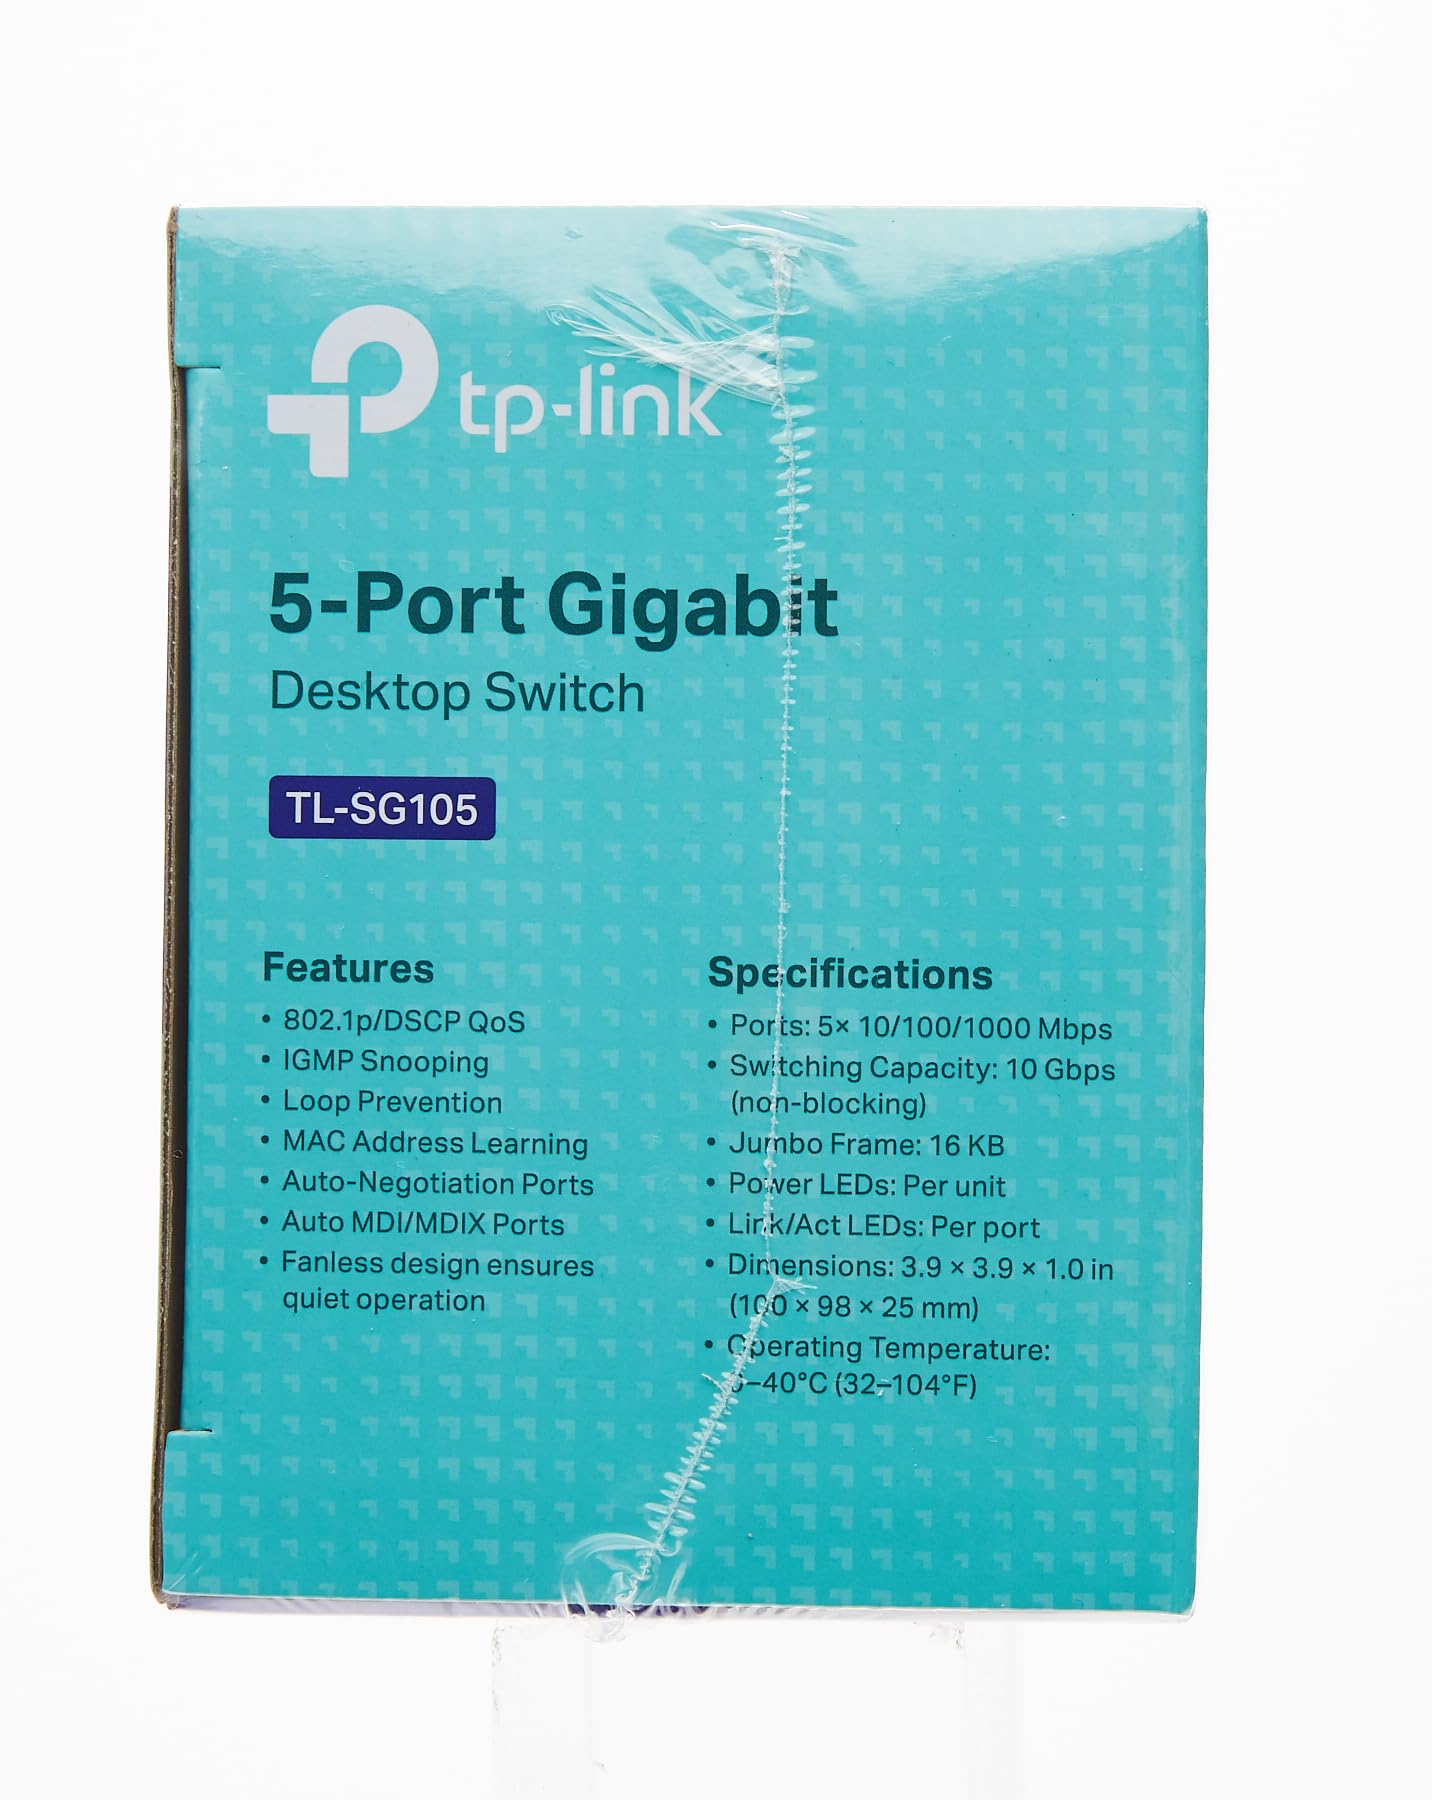
| Interface | 5 10/100/1000Mbps, Auto-Negotiation, Auto-MDI/MDIX Ports |
| Upper Temperature Rating | 40 Degrees Celsius |
| Number of Ports | 5 |
| Item Weight | 0.22 Kilograms |
| Item Dimensions L x W x H | 3.94"L x 3.85"W x 0.98"H |
L**S
So far, so good!
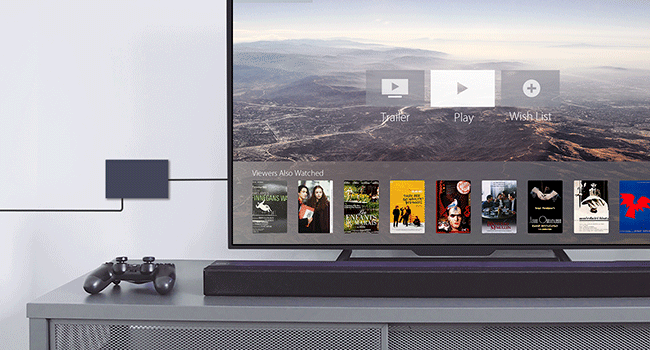
I’ve been using this connector several days now, and it’s working as expected. I’m using it plugged into a WiFi extender to hardwire our TV and PlayStation. This is giving us faster and more consistent connection. Even though we have fiber internet, the location it was installed in our house is not central, so we’ve had to do the extensions. And our Sony TV’s internal WiFi won’t keep a connection (a common issue for Sony TVs), and game downloads were taking too long as well as not being able to play a live game while downloading.This little box has fixed the issues. It really is just a plug-and-go item. Super easy and you don’t have to be techy to understand how it works. Keep in mind that one port will be dedicated to the WiFi box or extender, so buy the size you need accordingly. If you’ve got 6 devices to connect, you need at least 7 ports.I didn’t know what “looping” was, so after looking into it, I left that switch to “off.” It was not recommended, and warned of slowing speeds and mixing up devices. It’s working great so far. TV connection hasn’t faltered since switching to the box (and not directly into extender box). And the PlayStation downloaded a game in 5mins that, unwired, estimated 30mins! My husband was very happy. He then downloaded Cyberpunk 2077, which is a huge file. When he tried downloading it unwired, it quoted like half a day, lol. Hardwired, it took less than 1.5hrs, AND, at the same time, he was able to play a college football game that uses the network for live play.One thing to note: this did change our IP address, so when we went into Hulu after getting it connected, we got the “it looks like you’re not at home?” message. We had to “update our home location” even though we didn’t really move. You get 4 of these home changes a year, so just FYI. I’m sure Hulu is familiar with this and would work it out if you don’t have any home address changes left, but the hassle and time would be annoying.Overall, I couldn’t be more pleased. If this box stops working after a time, I’ll update my review. But for $12.50 on sale, it’s a steal. The box itself seems quality and well made. It’s got a weight to it and was packaged well. Definitely recommend.
B**N
Fast & Easy-To-Use!
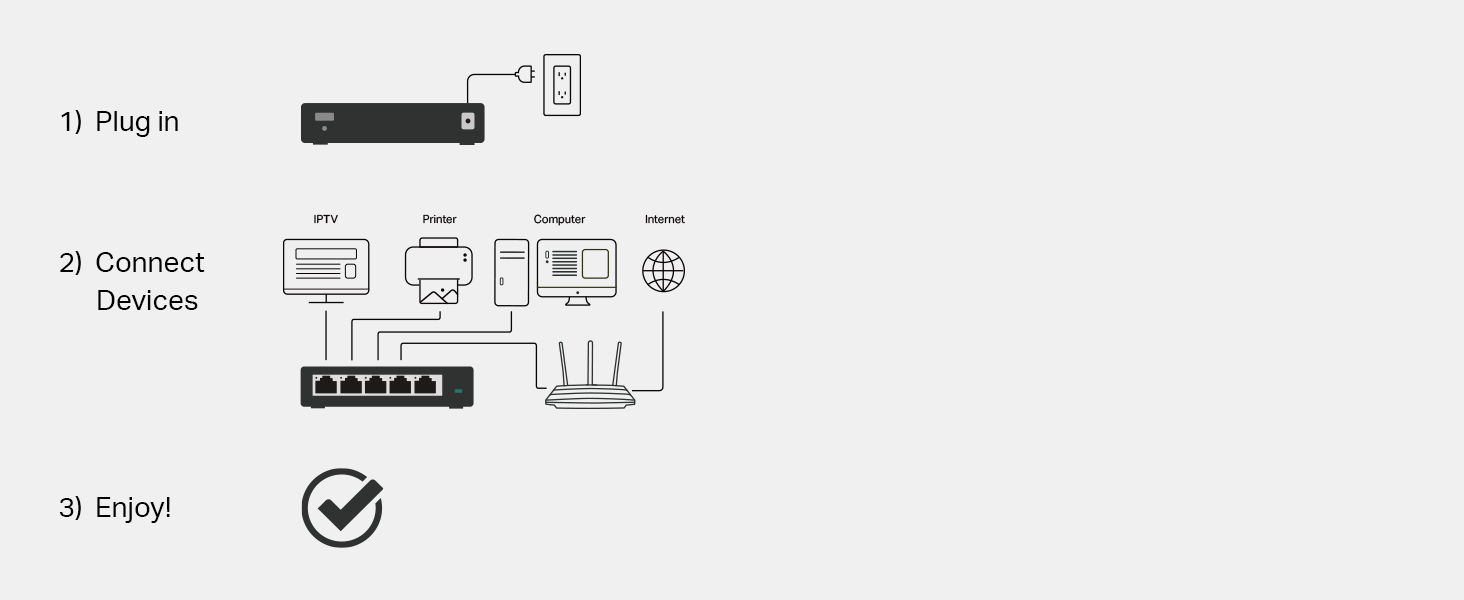
Edit 11/15/2024:I periodically like to perform check-ins on my previous reviews. Over 2 years later I am happy to say this thing still works flawlessly. Haven't encountered a single hiccup. Very consumer friendly and is truly "set it and forget it".-----------------First off I need to mention that Amazon asked me to rate 3 "features": 'WiFi signal', 'Tech Support', and the 'User Interface'. Let me be clear that this device does not use WiFi and it does not have it's own local IP address to let you log into a "User Interface". Just wanted to point this out in case you come across other reviews that have these two "features" rated that could be misleading you.I recently built a house and had it wired for Cat 6 Ethernet, with there being 1 wall port in each room. One room in particular I have a desktop PC and an Xbox that I wanted both to have a wired internet connection to which is what required the purchase of this device. It is extremely easy to set up, and with it being "unmanaged", there was no portal I needed to sign into that would require me to mess with settings. It's a very simple "plug-and-play" set up, you simply need to connect an incoming ethernet cable from your router/modem (in any port) and then you can now share that internet connection to 4 other wired devices - that's all there is to it.One important note is this: if you have a modem-only device (these devices usually only have a single ethernet port on the back) then you are probably needing a router - not a switch. A router is capable of assigning your devices their own internal IP addresses via DHCP - which is important if you don't know how to assign them yourself. It's also what manages your NAT for situations your devices may need to use the same internet port number. While you don't necessarily need to know what all of this means, you need to understand that a switch is not a replacement for a router. If you are a consumer (as opposed to a business) then you're likely considering this switch to extend/add more ports than what your router has (they usually have around 4 or 5). Even the devices that are connected directly to this switch will still be getting their local IP addresses assigned from your router.The benefit of this switch over a "hub" is that it knows how to route your internet traffic to your devices. So even though it's not responsible for assigning IP addresses to your devices, it knows how to route specific traffic to the devices that require it. It does so lightning-fast - I notice absolutely no additional latency (which is great for gaming) and no compromise in speed either. If you're on the market for a small unmanaged switch, then this is an affordable and excellent choice.As I've said above, this device does not contain WiFi. You cannot connect this wirelessly to any device. You would be able to purchase a separate device that would connect to this to transmit a wifi signal, but this will not do it on its own.
B**N
Great, Inexpensive Network Switch
I love this switch! I've got two of them on my LAN, and they work amazingly well. Once you set them up you never need to worry about them again. They are simple, inexpensive, and get the job done. They are small and easy to tuck out of the way. The one in the picture on this review is tucked behind my workstation in my office. The other is in the utility closet that contains my router and modem. They allow me to take the single Ethernet port in a given room and split it out for multiple devices. I think the only downside is that it doesn't have 2.5Gb/s ports because my router and my workstation do support 2.5Gb/s Ethernet. It is not a huge deal, though. My internet connection is only 800Mb/s, so I would only be able to utilize the extra bandwidth with devices on the LAN. It would have no benefit for my WAN connection. I would recommend these switches to anyone looking to wire their home network.
L**.
Set-It-and-Forget-It Network Switch
This little powerhouse has streamlined my home setup far better than expected. The TP-Link TL-SG105 is truly plug-and-play—no software, just hook up your devices and go. It’s also quiet and without any heat issues.Solid performance thus far as I'm running a smart TV, two gaming consoles and a PC off this and all are getting solid, consistent speeds.If you’re looking to expand your network for work-from-home, gaming, or just keeping smart devices connected, this unmanaged switch checks all the boxes. For the price and reliability, you can’t go wrong here.
R**N
Reliable and simple.
Simple and reliable setup. Also connected an access point that works flawlessly and connection is steady.
Trustpilot
2 days ago
1 month ago
1 month ago
1 month ago


